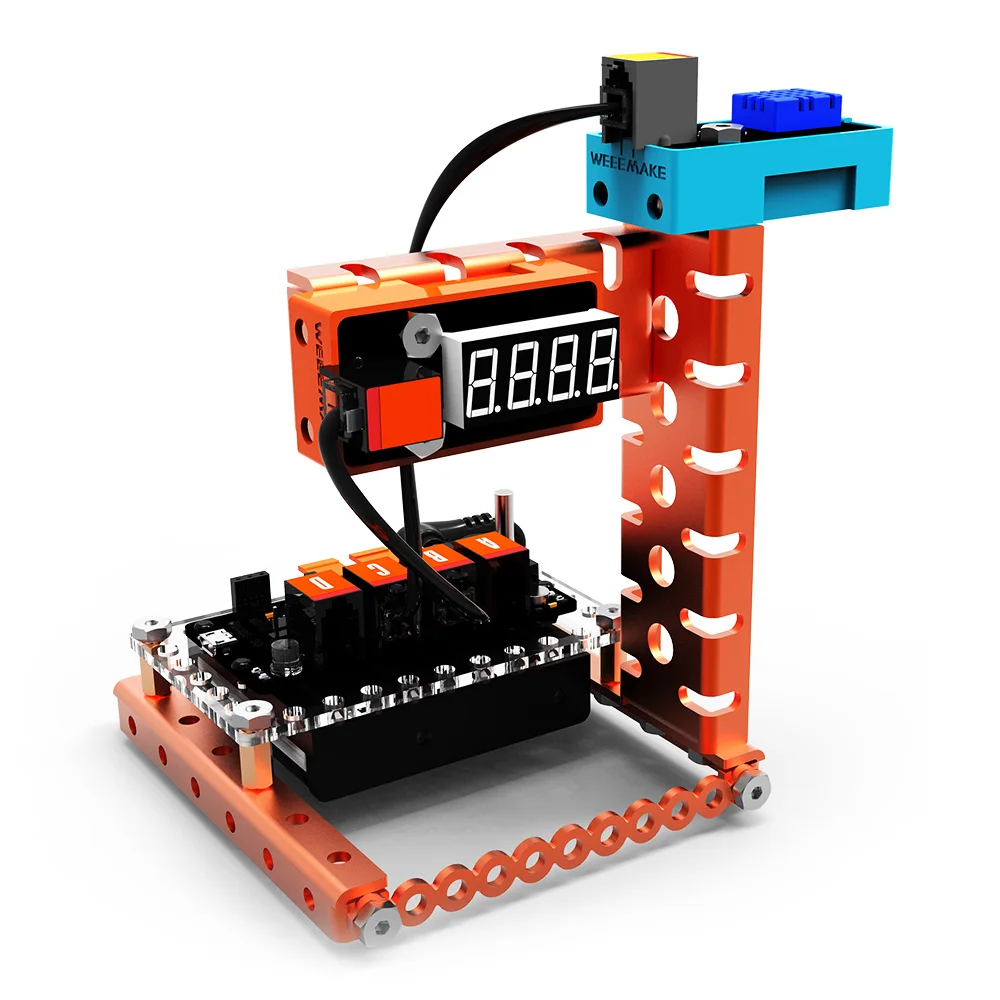
D.I.Y personal weather station
Introduction
Personal weather data collection and recording is enjoyable. I’m sure you’d agree with me as well. Thank God if you want to learn how to build your own weather station at home and generate your own weather forecast. You’ve arrived to the right location.
Making a weather station is not only straightforward but also entertaining. All you need are a few basic ingredients, which can be found in both online and offline locations.
Then, like a meteorologist, you must put them together to predict weather conditions. You may easily measure temperature with a thermometer, rainfall with a rain gauge, air pressure with a barometer, humidity with a hygrometer, and so on with a simple weather station. It is quite simple and easy to construct a weather station with those instruments.
In this article, I’ll walk you through the steps of making a simple weather station at home so you can quickly record and collect weather data.
Background
Weather processes, global climate dynamics, solar radiation and its impacts, and the role of atmospheric chemistry in ozone depletion, climate change, and pollution are all studied by atmospheric scientists. They look at what’s going on in our atmosphere right now and compare it to historical data. Atmospheric scientists utilize highly sophisticated instruments to detect rainfall, wind speed and direction, humidity, and atmospheric pressure in order to keep track of the weather. These can be measured at home or at school. Create a psychrometer, also known as a hygrometer, to measure relative humidity before starting to build a weather station.
Material
- Two alcohol-filled air thermometers (they must read exactly the same
- Temperature when placed side by side out of direct sunlight)
- Clear packing tape
- One- or two-liter bottle (label removed)
- Thread
- Awl
- Relative humidity chart
- Water (distilled is best but tap will do)
- Cotton shoelace (the hollow type)
Procedure
- Punch a hole in the side of the bottle, approximately 1 inch from the bottom, with an adult. A perfect hole can be made by heating the awl. A heated nail grasped with tongs can be used in the same way. To avoid burning yourself or others, proceed with extreme caution.
- Place the hot object in cold water after you’ve dug the hole.
- Remove the shoestring’s tips. Cut a piece of shoestring about two inches long and put it over the bulb of one of the thermometers. Tie it in place with thread with care.
- Using a little piece of packing tape, make a small seal. Place the shoe stringed thermometer’s bulb about 1/8 inch above the hole. Make sure the thermometer’s top is aligned with the bottle’s top. The thermometer should be taped to the bottle. Tape the second thermometer to the first one, about 1/4 inch away. To prevent the thermometers from falling off, wrap a strip of tape around the bottle and both thermometers.
- Grasp the shoelace and pull it through the hole. Fill the bottle with room-temperature water until it reaches just below the hole.
- Wait 5–10 minutes before reading both thermometers. There will be a distinction between the two. Calculate the relative humidity using the chart below.
- For a few weeks, keep track of the daily humidity. Describe how you felt on those days next to your entries.
- The air temperature can also be recorded using the dry-bulb temperature!
Follow these steps to build your own weather station.
Conclusion
Congratulations! Hopefully, you were successful in constructing the weather stations. Isn’t it straightforward and intriguing? I told you! This weather station, on the other hand, can be readily installed anyplace. Simply ensure that all of your station’s weather sensors are exposed to the appropriate weather elements. After the installation is finished, you may begin gathering data and making predictions.
Does home weather stations worth it know in this blog.


Comments
Post a Comment